
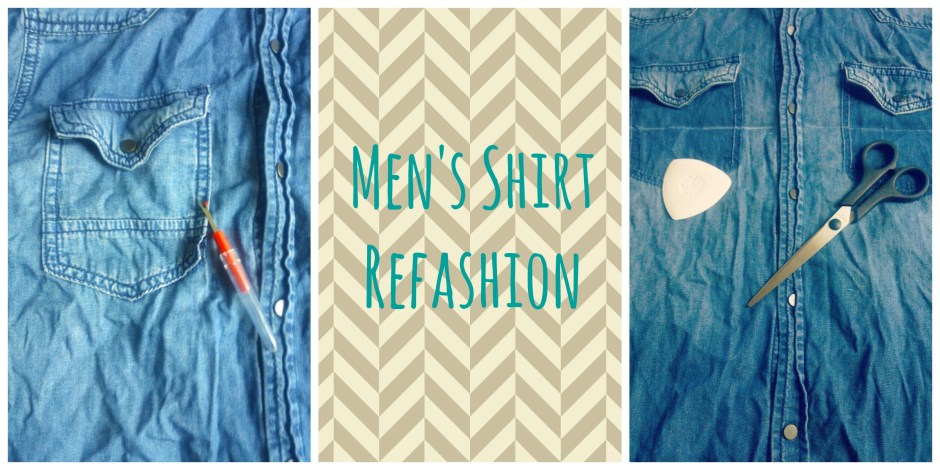
One of my favourite parts of the Sewing Bee is the refashioning challenge – making something old into something new and unexpected is a pretty impressive skill, and one that I am yet to master. For my first refashioning project, I kept it simple and decided to turn my boyfriend’s denim shirt into a skirt with an elasticated waist (the shirt was in a bag destined for the charity shop when I nabbed it, just to make that clear – it’s best not to go stealing your other half’s favourite shirts!). Here’s how I did it:
- Refashioning a men’s shirt into a skirt is quick and simple, as the main construction has already been done for you (no hemming needed, joy!). If the shirt you’re using doesn’t have pockets, you’re in luck. All you’ll need to do is measure the length you want your skirt to be, from the hem upwards, then add enough at the top to make a waistband – this should be the width of your elastic, plus a 1cm seam allowance – and draw a straight line with tailor’s chalk across the width of the shirt when you’ve measured the correct length to mark your cutting line.
- If, however, your shirt has pockets like mine did, you’ll need to unpick these and remove them, as they’ll get in the way of creating your waistband. Once I’d unpicked mine, I noticed the denim underneath the pocket was darker than the rest of the shirt, meaning I’d need to chop more off – if this isn’t the case with yours, then you can just carry on with the measuring and cutting. If you’ve encountered the same problem, however, you might need get be a bit creative and use the rest of the shirt to make a waistband (I’ll come to that later).
- Once you’ve cut the unneeded top half of the shirt off, it should start looking a bit more skirt-like. As the shirt I was using was fastened with poppers, and I didn’t want any embarrassing popper-bursting situations, I sewed up the length of the closure – it would probably be worth doing this with a button-up shirt too to avoid it gaping when you sit down.
- Now it’s time to create the waistband. Those of you using the simple, turn-down method will need to fold and press 1cm of the top inwards, then fold down the width of the elastic (plus a bit of wiggle room) inwards as well, and topstitch. Make sure you leave a gap of a couple of inches so you can feed your elastic through. In fact, as I’m lazy and I hate fiddly things like this, I left four gaps – at both side seams, and front and back – which made it a lot easier.
- If, like me, those pesky pockets mean you can’t create the waistband the aforementioned way, then not to worry, as it’s still super simple – all you need to do is cut the sleeves into four equal pieces to be sewn together to form the waistband. I measured carefully to make sure the seams would match the centre front and back and side seams of the shirt, and sewed all four pieces together to form a loop. Pin this makeshift band to the shirt, right sides together, and sew all the way around. Then rest of the steps are the same as before. See, told you it was easy.
- Once you’ve threaded the elastic through, sew the two ends of the elastic together, sew up the gaps you left to thread the elastic through, and voila – your shirt will be reborn as a rather fetching skirt!

Top Gap Skirt River Island man’s shirt Bag French Connection Locket Disney Couture Shoes Dune Sunglasses Accessorize
Have you ever refashioned a men’s shirt? What did you do with yours? I’d love to hear your ideas!

Sleeves are great for pre-made linings in wee bags? Sometimes I like to re-use the cuffs on things that need small button closures, like wee little bags lol. I always cut pockets off to see them on something else, like the inside of a purse…gee I must like making bags :/
Great ideas! I can never bring myself to throw any fabric scraps away, so I kept the cuffs and collar ‘just in case’. Love the idea of using them to make a little purse or bag :)
Oh! And you look adorable, good work!
Merci :)
;)
Such a great remodel, I’m going to have to try that next! Can’t believe that was your first time attempting this, great job!
Thanks! I definitely recommend it, it’s a great quick and easy project! Let me know if you do :)
I love this. I made a dress out of a shirt last year (somewhere on my blog!); I didn’t think to just do a skirt! I will definitely do a skirt this year – so easy!